Transitioning to SMD Components
SMD components are now so cheap, its like they are free. They allow one to make a super small PCB for their inventions and projects. This blog covers my tips for making the transition to SMD components and the reasons why to do so.
-Sean J. Miller 11/13/2022
INTRODUCTION
I had applied SMD components a few times before, but never designed fully for it. I was a bit clumsy on my first attempt and it didn't seem to be an advantage to the Maker who likes to chug out quick projects. With our Drone project, I elected to go 100% SMD for the resistors. In doing, I got the knack for landing them well, even without a reflow oven. This opens up for some fast home manufacturing in that my chemically etched boards can now be made much faster with my 3D laser etcher and no need to drill holes with the exception of wire to board connectors.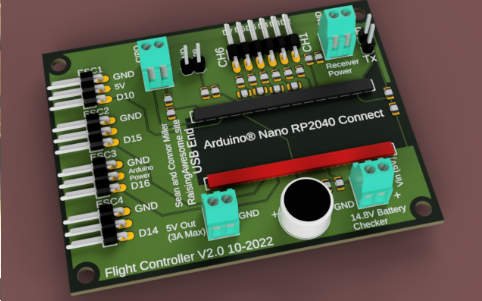
SMD SIZES
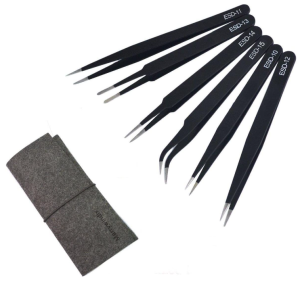
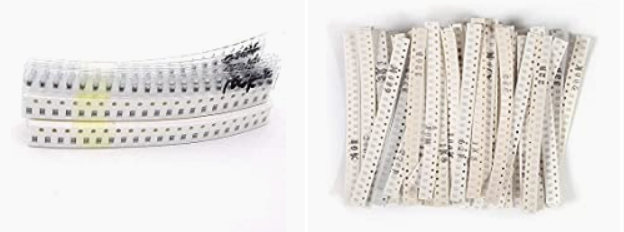
Just about the only thing you need to learn for SMD versus through-hole components is sizing. Otherwise, they are actually easier overall - particularly for resistors, in that they have numbers on them instead of color bands to reference. Note: for handling them, you definitely need some sharp tweezers.
When you design for SMD, be sure to look for the code as shown in the table below. This is very important to match to your supply or your order of SMD components. The smaller the better.
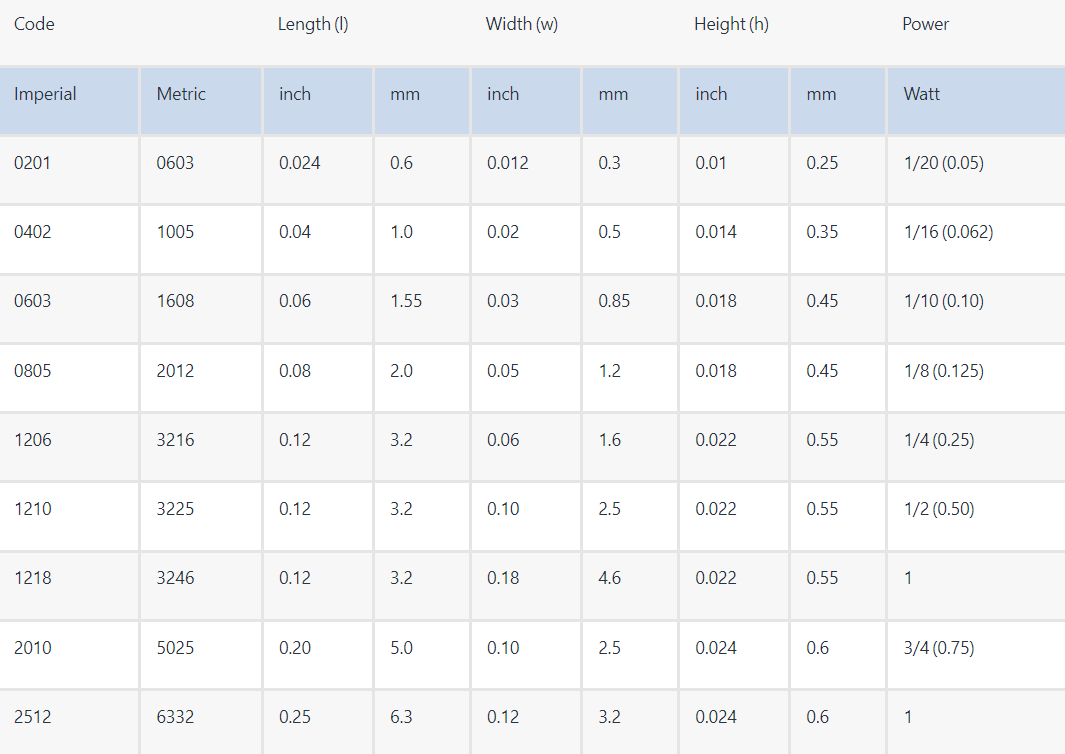
You can make a slightly bigger SMD resistor work if you align it just right, but it is a major pain to keep things aligned. Getting the pad layout exactly matched to the size (code), you will be able to install SMDs easily even without a reflow oven. My size preference is 0805. They are small, but not so small I can't handle them.
- McIgIcM 0805 SMD Capacitor Assorted kit,36values20pcs=720pcs 1pF~10uF Samples kit Electronic DIY kit mlcc Multiplayer Ceramic Chip Capacitors: Amazon.com: Industrial & Scientific
- AEDIKO 1500pcs 0805 SMD Capacitor 0805 Chip Resistor Assortment Kit 1% 1/8W 0.125W 60 Values 0 ohm-10M ohm Resistors: Amazon.com: Industrial & Scientific
WORKING WITHOUT AN OVEN
To install an SMD component without a reflow oven, you can simply use a normal soldering iron. I found that a combination of an iron along with a hot air station is the best approach. These are the components I use (If the links do not work, the descriptions will do the trick for a search):
- No Clean Lead Free Low Temperature Solder Paste 15 Grams - - Amazon.com
- CREWORKS 858D Rework Station, 110V SMD Soldering Rework Station with Hot Air Heat Gun Set, LED Digital Temperature Display Screen Electric Desoldering Welding Iron Kit for Electronics Repairing - - Amazon.com
- MG Chemicals - 8341-10ML 8341 No Clean Flux Paste, 10 milliliters Pneumatic Dispenser (Complete with Plunger & Dispensing Tip): Soldering Cleaning Products: Amazon.com: Tools & Home Improvement
- Mudder 0.3 mm Solder Wire Sn99 Ag0.3 Cu0.7 with Rosin Core for Electrical Soldering 30 g - - Amazon.com
- Amazon.com: Weller WE1010NA Digital Soldering Station : Everything Else
Here is my soldering iron approach:
- Heat up the iron
- Heat up a pad and put a very little .3mm to the pad. Do it for all pads.
- With tweezers, place a component on its pad. Pin it down with the closed tweezer on top of the component.
- Touch it end with the hot iron.
- Look for shininess at the base of the component - that will be the solder melting.
- Remove the iron and you should be good.
Here is my Hot Air Station Approach:
- Use the solder paste syringe to put a very small dab of paste on the pad.
- Use the flux syringe to put flux on and around the pads. Too much flux isn't actually a problem. In fact, I've heard "the bigger the blob, the better the job".
- Using tweezers, place the component at its pads.
- Turn on the hot air station. I usually end up around 300F, but your solder paste should have a spec for it. Turn, the flow down so you don't simply blow you component off the board.
- Come in from a good distance, you should start to see the flux cook off. The solder paste will to. The solder in the paste will melt and naturally find its way between the pad and the component.
- If all goes well and your pad dimensions are correct for the size of the component, it should self align for you.
- Clean off excess flux with isopropyl alcohol.
USING A REFLOW OVEN
If you like to make professional grade projects, a good Birthday present is a reflow oven:
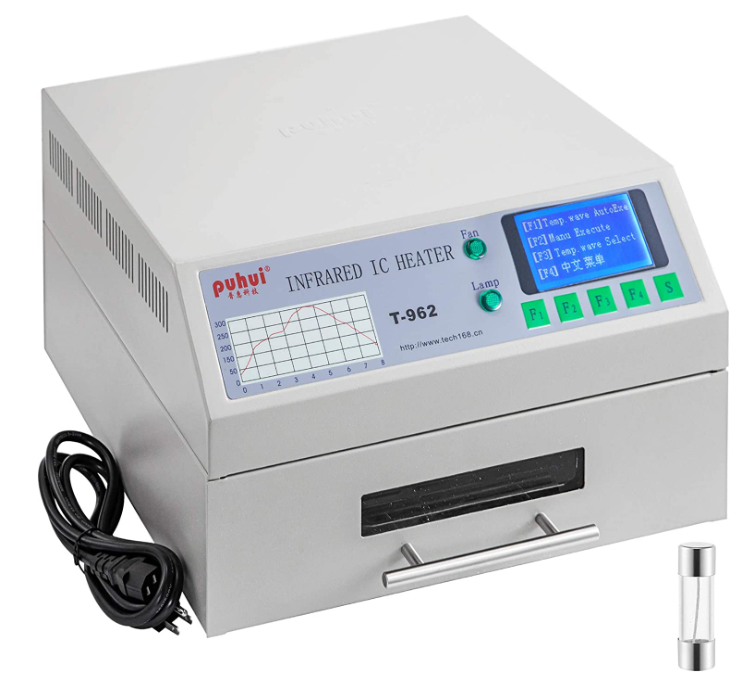
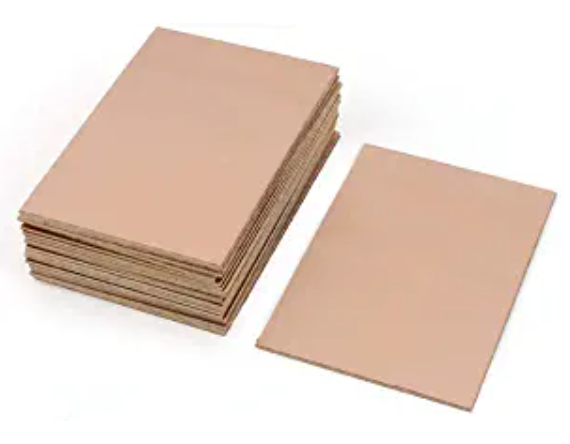
With those designs, you use a stencil that helps you accurately paint on the solder paste to the pads. If you have your boards made by PCBWay.com, they can also make you a stencil. If you make your own, I suggest using a 3D laser etcher and chemically etch the board and laser out a stencil as well which just can be paper. These are the blank copper boards I use:
PCBWay.com can now get fabricated boards to the middle of the United States in 5 days for less than $30 for ten boards. This option is becoming almost impossible to beat.
SUMMARY
Now that I've got the knack for landing SMD components, my bins of through-hole are now just collecting dust. The ability to make my boards as small as Panasonic would do it, makes it such that I never want to go back. If you haven't tried them, yet, it'll be worth it.